Showing posts with label Weaving. Show all posts

Monday, February 15, 2021

AVL Sticky Beam: Watch this before you buy a loom!


This video explains what the sticky beam on an AVL Loom is and how to use it.  This is a video in a series about my AVL A-Series Compu-Dobby 24-shaft Floor Loom.

If you are interested in getting this loom, these videos show all the features that are offered and how they work.

Sunday, February 14, 2021

Automatic Systems AVL Compu-Dobby Floor Loom


These are some of the features on the AVL A-Series Floor Loom. 

If you are thinking about getting a Computer-Dobby Floor Loom this video will show you the Automatic Systems on my A-series loom.

This video is one in a series about the AVL looms.

Saturday, January 23, 2021

Building a PVC Warping Mill


                      I made a video about how to build a PVC Warping Mill on You Tube.


                   Video: Building PVC Warping Mill


                        Printable instructions are below.


Tuesday, January 1, 2019

Happy New Year 2019!


These are pictures of what's on my looms January 1, 2019.


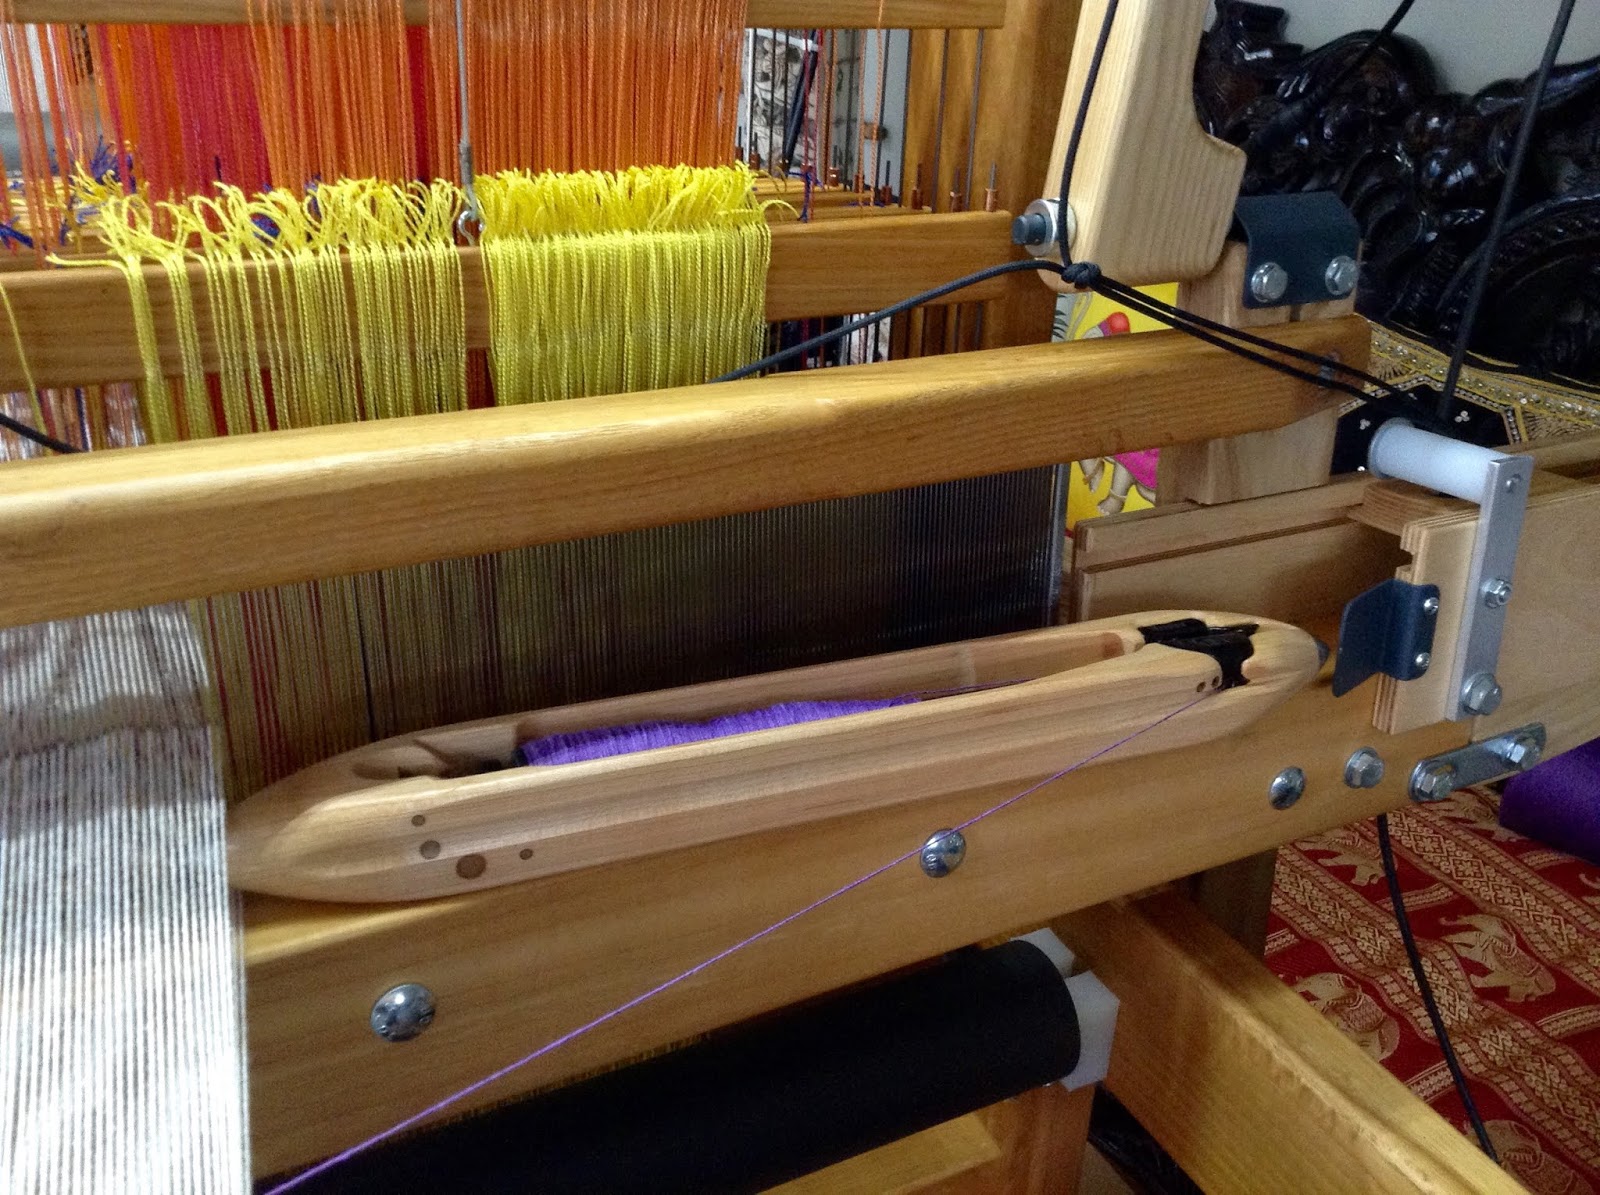
I am threading the AVL with a double weave project.  You can see that I have taken the sandpaper breast beam and tension roller off the loom.  Also removed, is the reed and the top that holds the reed in the beater.  I then use a black stool to sit in the loom to reach the heddles easier.  Another thing that makes threading easier is using the computer and Dobby to lift the shafts as I thread.  My mistakes in threading have gotten so much better by doing this.


Warp:

The warp is Fuchsia/Mauve, Ming Blue/ Teal, Green, Yellow and White separated by Black.

About half done, I should be weaving in a few days.


On the Harrisville Design Loom:

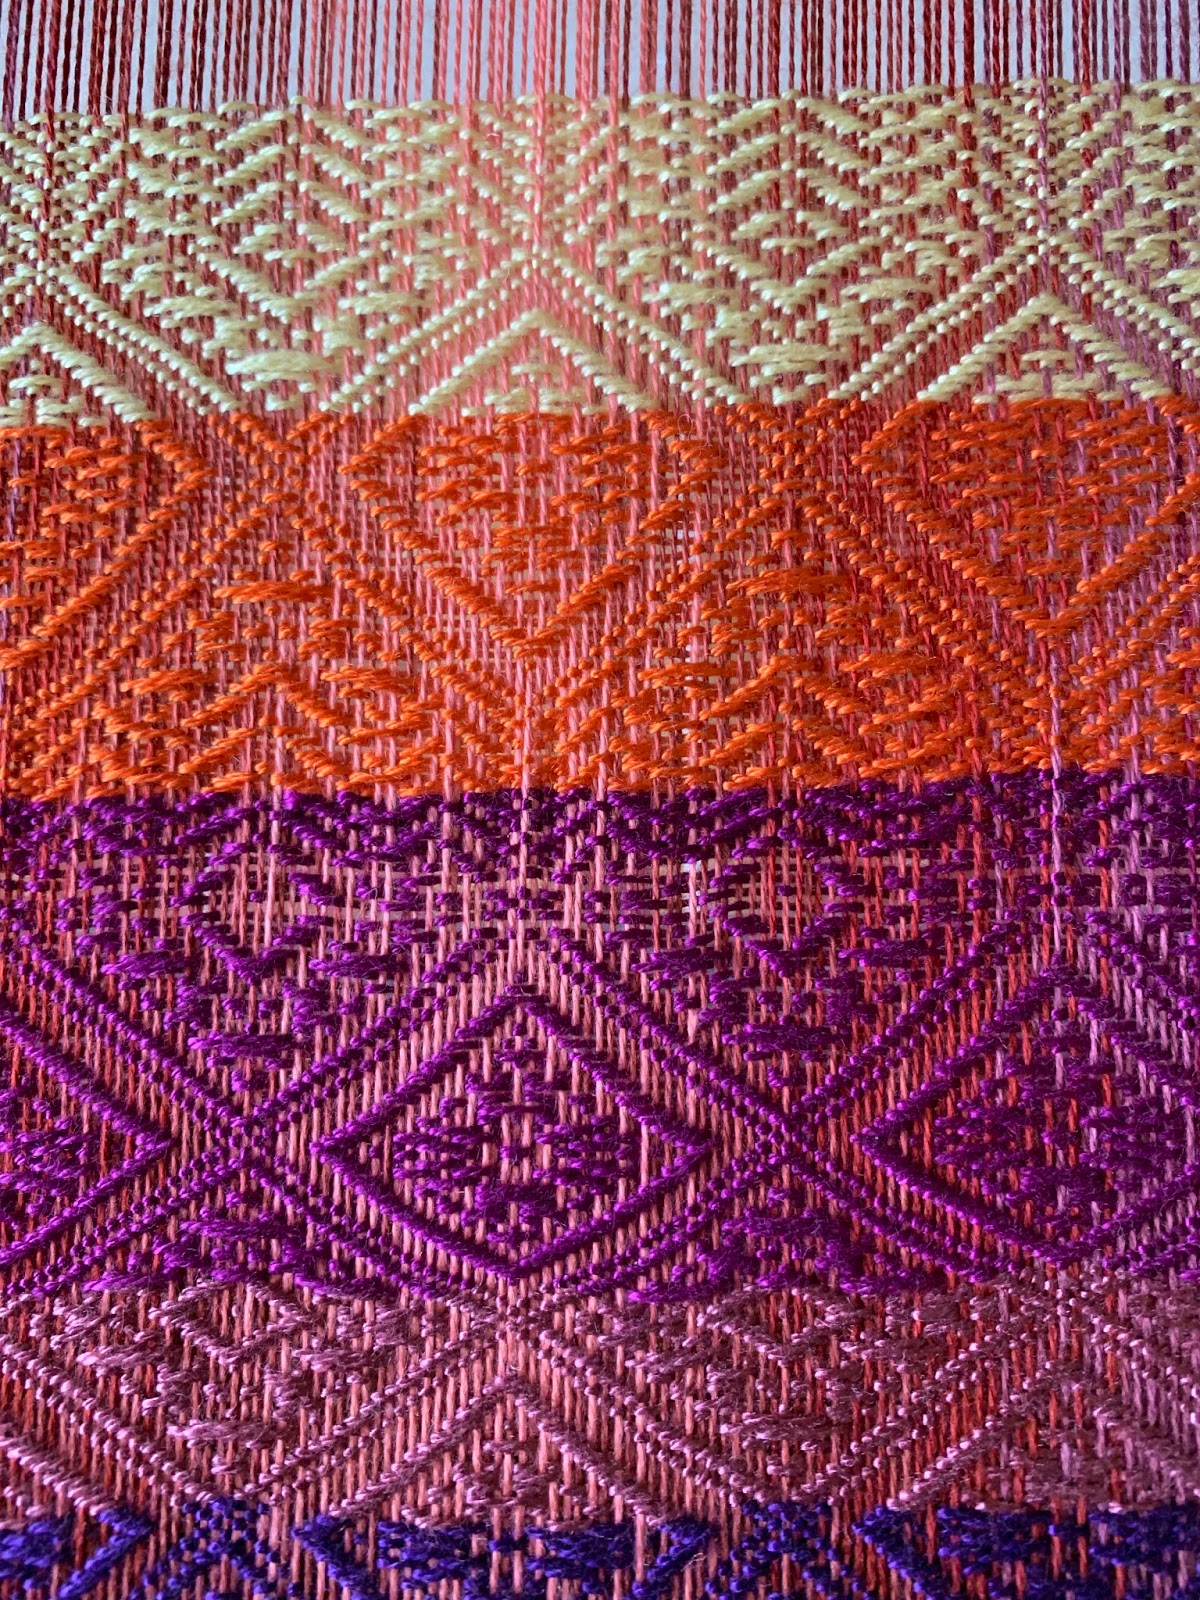
My Rainbow scarfs are on the HD 8 shaft loom.  I am inspired to finish this warp because I need the 10 dent reed to use on the AVL.  I have one more scarf to weave off on this warp.

I am enjoying weaving the bright colors of this warp.  I have several drafts that I am using on this warp by just changing the treadling.  I'll get a picture of all of them when they are off the loom.

It's a good start to the new year.  I hemmed this scarf, threaded a few minutes and am now watching the Mummers Parade.

I hope you are enjoying your New Year day as well.

Friday, December 7, 2018

Warp Gradation: Using Fiberworks to create a gradient.


Gradation of colors in the warp can create a very interesting background for a pattern.

When using Fiberworks software select "Colors" from the band at the top of the screen then choose "Create Gradient".  A box will appear giving you several selections.


  •  Choose the color you want to start with from the color bar then pick the color to end with.
  •  Select how many colors you want to blend.  The more colors you choose, the more gradual  the gradient will be.
  • Number of threads.  If you want the color to change across the entire warp choose the total number of warp threads.  If you want to mirror the color, like the photo above, divide the total number of ends in half and insert that number.  Example:  200 total warp ends would be 100 for half the warp.
  • Click on "Add to end", this will place the color on the draft.  If you selected half of the total warp the color will only fill in half of the draft.
  • To finish the mirror effect click add to end again.  This puts the color on the other half of the warp but it needs to be reversed to give you the mirror.
  • Click "Reverse" and you should have the mirror effect across the entire warp.
The computer will give you an endless number of colors, however, you need to check how many colors of thread you have to create the gradient.  You may need to decrease the number of colors in the program to make it practical for the colors you have on hand.

Just follow the threading sequence to get a nice gradation.  This does take time when warping but it gives a beautiful warp at the end.

Something to consider when creating a gradient is the draft you will be using.  When you take a lot of  time to create a beautiful warp the draft should highlight the warp.  You could choose a warp dominant draft or a draft with a simple design.


The draft I chose for this gradient is too dominant and hides the gradient.  I tried several colors of weft and eventually picked yellow because I wanted to highlight the design.  I now wish that I had not done the gradient for this draft; as it does not show in the finished cloth.  In the future I need to decide in advance which aspect is more important and will choose a draft that is more appropriate. 

I also think that the scale of this project is too small for the gradient.  This is about 9 inches wide for a scarf.  I think something wider would be better for the gradient.

The scarf is still beautiful but is not exactly what I envisioned for this warp.

Tuesday, December 4, 2018

Single Fly Shuttle... Stopping it from flying off.

This is my first experience with a fly shuttle.

I have a single box fly shuttle.  This means that it uses only one shuttle.  There are double and Quad fly boxes available so you can weave with multiple shuttles.  I decided a single would be used the most.

My loom is 40" wide.  I am 5ft 1inch tall and have short arms.  When weaving full width on my HD 36"loom I could not throw the shuttle across easily, so I decided to get a fly shuttle for the 40" loom.  Besides, I wanted to play with one.

It is important that you have the shuttle box even with the shuttle race on the beater so that the shuttle runs smoothly from the race into the box and vice versa.  I am familiar with using an end feed shuttle and love them.  When I switched from a boat shuttle to an end feed shuttle my broken selvedge threads stopped and the selvedge was nice and smooth.  The shuttle for the fly has metal on the tips and is a little heavier than my other EF shuttles.

I was hesitant to use the fly shuttle.  All I could imagine was the shuttle sailing off the loom and through the picture window near the loom.  The first few pulls were too light to get the shuttle from one box to the other.  With a little practice I was doing it well.

With the warp on the loom and thread in the shuttle I started again.  Klunk, the shuttle fell off the right side of the loom and hit the floor.  I got a small rug and put it under the loom to protect the hardwood floor and tried again.  It fell a few more times, I could not figure out what I was doing wrong.

I asked on Warped Weavers on Ravelry.com and Bonnie Inyone suggested turning the shuttle around so that the Honex feeder was toward the reed.  Like magic, it worked.

As I look at it now I understand why.  As you throw the shuttle from the left to the right the thread catches the left selvedge.  This starts to pull the right tip of the shuttle, where the Honex feed was, away from the reed.  When it gets to the metal guide near the right box it hits the outside edge and causes it to fall outside the box to the floor.

When you turn the feed toward the reed it does not pull the tip of the shuttle out and it sails into the box with ease.

One more tip.  Get a good paste wax and wax the shuttle race, fly box and the shuttle.  It reduces the drag and makes using the shuttle easier.  This is something that should be done as routine maintenance.

Using the fly shuttle gives me a very nice selvedge and is quicker than throwing the shuttle.  The only disadvantage is that it does not allow for the use of a floating selvedge.  When using a twill draft I will need to thread a basket weave or plain weave on a couple shafts to get a selvedge without floats along the edge.


Monday, November 26, 2018

Candy Cane Christmas Design


This design caught my attention while reading Ravelry.com Warped Weavers.  It is the perfect design to weave for Christmas.  There are versions for 4 shaft and 8 shaft drafts, but I enlarged the design for   16 shafts because I wanted to weave a table runner and placemats.

The basic draft is an undulating twill where the color placement creates the candy cane effect.  If you play around with the color placement you can create many designs from this draft.  It is easy to weave since you only use one color in the weft and it is a simple treading.

I warped the loom with 8/2 Cotton and added red Lurex to the red cotton stripe.  It gives it a nice shine, but the Lurex does not shrink.  This created some bumps in the finished fabric which I do not like and would not do it again.

I used several different yarns for the weft.  First I used Linen for a table runner.  The second runner I used 8/2 Cotton and the placemats I used 3/2 Cotton.  I liked the 8/2 cotton results the best.

This is a draft that I will definitely weave again.  I think I will use the 8 shaft draft to create dish towels.  There is a front and back to this design.  The green stripe on the front has a nicer look on the front of the draft than on the back.


Saturday, September 22, 2018

AVL A-Series 40" 24 Shaft CD 4.5 Loom, New to me.

Earlier this year I found an AVL 60" Compu Dobby loom for sale by an individual.  I was not the first to contact the seller and she had someone interested, who eventually purchased the loom.

I was happy, and still am, with my HD 8 shaft 36" loom.  However,  I was always curious about Compu Dobby looms and wanted something wider.  The loom above was a great deal for everything included, but the cost is still high, about the price of a used car.

The cost was a major deciding factor for me.  I feel guilty spending that kind of money on myself, so I spoke to my husband and he said if I really wanted one, get it.  I continued looking for a used loom offered by an individual, but there were none that would work for me.


AVL is located in Chico, CA.  I like that they are very innovative and continue to create looms with better computers and enhanced features.  I still could not bring myself to order a new loom because of the cost, but AVL buys back looms from their customers.  They go over the loom completely and replace worn parts.

AVL did not have any pre-owned looms that fit my requirements so I kept watching their website.  One day an A-series 40" 24 shaft CD III became available.  They offered an upgrade to the newest CD4.5.  So I jumped on it.

I emailed Bob Kruger at AVL with a few questions and he responded the next day.  I confirmed my order with him within a few days and made a deposit of 50%.  I decided to get a warping wheel, add a single box fly shuttle to the loom, changed one of the plain beams for a 1 yd sectional beam and converted the beater to an overhead beater.

Now the hardest part of ordering the loom ensued.  I had to wait 12 weeks for delivery.

During that time I downloaded the assembly manual and tried to learn as much as possible about multi-shaft weaving and creating drafts for 24 shafts.  I also started working with Fiberworks weaving software.  I downloaded the free copy to make sure it was what I wanted to purchase when I got the loom.

The time went quickly, and before I knew it the loom had arrived.

Monday, September 17, 2018

Walking your Treadles


This is something I did not know about when I first started weaving.  I don't remember where I learned about it, but it has made my weaving much easier.

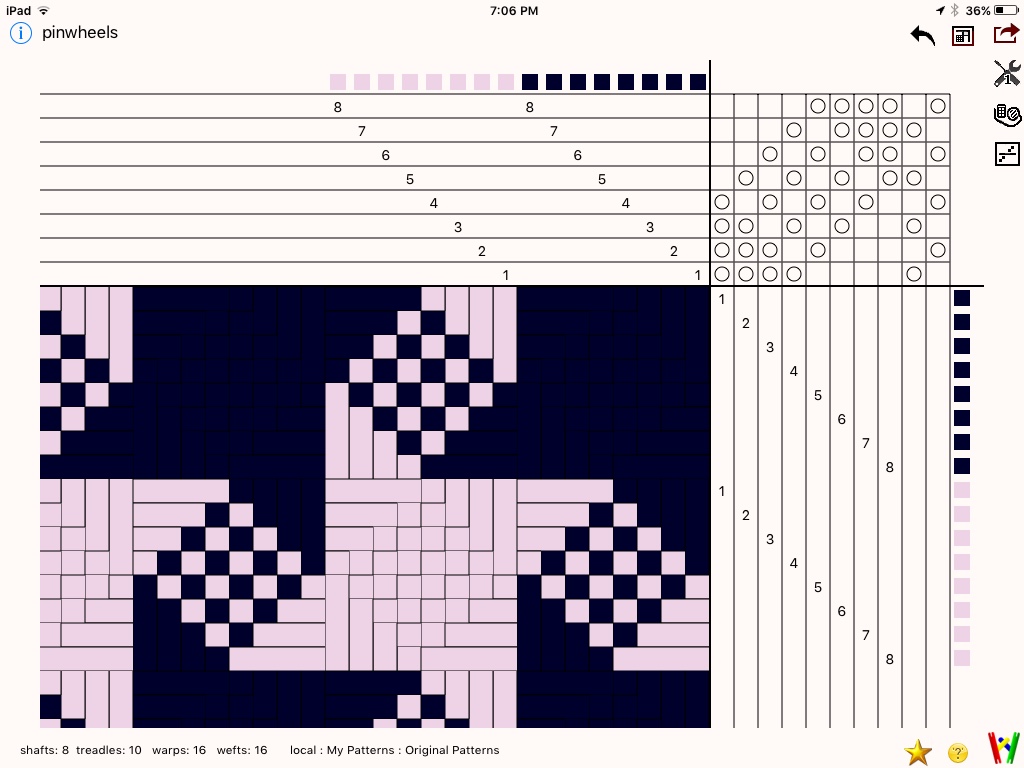
When I first started to weave, I would use a draft like the one here.  I tied my loom up exactly the way the draft was written.  To treadle this draft I would use my left foot on treadle 1.  Move it to the right to treadle 2, then 3 then 4.  When I reached the center I switched to my right foot and continued in the same fashion, moving my foot one to the right from 5-8.

Doing it this way works, but I find it puts my body off balance.  When I lift my left foot move it, my right foot is hovering in the air.  To correct this I change the tie-up on the loom to allow my left foot to depress the first treadle.  Then, my right foot depresses the next treadle.  Then back to the left, then the right.  In a walking pattern.

When my left foot has a treadle depressed, my right foot hovers above the next treadle to depress.  This allows one of my feet to be on the ground (as it pushes down on the treadle) at all times.  This keeps my body balanced and my posture straight.  It also makes weaving faster because my foot is ready to depress the next treadle.

So... How do you set up the loom to do this?

First you need to look at your draft.  It works best with a straight draw or point draw treadling.  If your draft jumps around on the treadles it may not work as well.

I like to set up the two outer treadles to weave Plain Weave or Tabby.  I usually leave them tied-up like this unless I need to change it for some reason.

Remember, your treadles don't need to be named 1-10 from left to right.  You can number the treadle anything you want.  Often the Tabby treadles are called A & B.  You can put them anywhere you want.

If you are weaving all Plain Weave, choose two treadles that are most comfortable for you.
I would choose 3 and 6 if they were the only treadles I was using because that is where my feet fall naturally.  When I have a draft that does not use Plain Weave I put them on 1 and 10 so I have use of them to weave a hem if I want to, but those are the farthest treadles and more difficult to reach for pattern.

With 1 & 10 used for the Plain Weave, I now have 8 treadles to use for the pattern.  I try to keep my left foot to the left of the center of the treadles (1-5) and my right foot to the right.

Using Blue Painter's tape, I number my treadles so I can look down to make sure I am on the correct treadle.

Starting with 1 and 10 for Plain Weave, mark them A and B.

Now the treadles from the left are labeled A, 1, 3, 5, 7  and the right are 2, 4, 6, 8, B

Tying-up the Treadles:

Time to get under the loom.  Looking at this draft, we need to tie treadle 1 with shafts 1,2,3,4.  

Now move to the treadle marked 2 with the blue tape.  It should be the first treadle to the right of center.  It gets tied to lift shafts 1,2,3,5.

Treadle 3 is on the left next to 1.  Tie-up 1,2,4,6.

Treadle 4 is on the right next to 2.  Tie-up 1,3,5,7  Notice:  this is the same as Plain Weave A, but I would tie treadle 4 with this because it will make treading easier when doing the pattern.

Treadle 5.  Tie-up 2,4,6,8  This is the same as treadle B, but tie it up here.

Treadle 6.  Tie-up 3,5,7,8

Treadle 7.  Tie-up 4,6,7,8

Treadle 8.  Tie-up 5,6,7,8

Weaving the Draft:

This is an easy draft to weave because it goes 1,2,3,4,5,6,7,8 then starts over again.  This is a Color n Weave draft that requires changing the color of the weft after every set of 1-8.

If it was a little more complicated I would write the sequence on a piece of paper and attach it to the loom so I could keep track of the treadling.

Sitting at the loom, start with your left foot on treadle 1, throw the shuttle, beat.  Next, your right foot treadles 2.  As soon as you press down on treadle 2 move your left foot above treadle 3.  As soon as you throw your shuttle for treadle 2 and beat you are ready to press down on 3.

Using Software to Shift the Shafts:

If you have full feature weaving software on your computer you, most likely, have the capability to move the shafts automatically to decide what configuration would work best for you.  I say "full feature" software because the App named iWeaveIt that you can use on your iPad or iPhone does not have this feature.  You need to get WeaveIt Pro or Fiberworks for your computer.  There may be other programs for this, but these are the ones I am familiar with.

Conclusion:

Some people love walking their treadles, some prefer to use the draft as written, it is up to you.  Many people don't even know it exists.  I hope you try it and decide for yourself.  As I mentioned earlier, it does not work for every draft.


Looms...Backstrap to Computer Dobby

I love my Harrisville 36" 8 shaft loom.

It amazes me that over the history of looms they are still basically the same.

A wood frame that holds a warp beam and cloth beam to keep the warp taught.  Shafts and heddles to choose and lift the warp threads and a beater with a reed.  The only other tool needed is a shuttle to place the weft.

In my travels through Peru, Cambodia and Thailand, georgeous fabrics are still woven on backstrap looms.  The women using them anchor one end to a tree or anything available, sit on the ground and weave most of the day.  The loom is folded around itself and is light weight and portable.

What else does one need?  Well...it turns out I and many other weavers need (want) much more.

More shafts, more sizes of reeds, sectional beams, Dobbys, Computer Dobbys, wireless connections...

My question is,   At what point does technology overshadow the art of weaving?

Did moving from a backstrap loom to a floor loom make the woven fabric less handmade?

Did moving from 2 shafts to 4, 8, 16, 24 shafts change it also?

Does using a Computer Dobby take the personal touch out of creating a fabric?

These were all questions I asked myself when considering getting a 24 shaft Computer Dobby loom.

My answer is that the addition of these tools allows for greater creativity, not the loss of the art of weaving.

What do you think?


Tuesday, March 6, 2018

Finding Time to Weave

Where to find the time to weave?


Like most people, I have a busy life.  Taking care of my husband, dog, house, garden and yard plus many other things takes most of my day, but I still find the time to weave.

It is important for me to weave.  It is exciting, keeps my mind busy planning projects and relaxes me while physically weaving.  

I find time in small segments throughout the day.  15 minutes before leaving the house in the morning, an hour or so when I get home, another hour and a half after dinner, it all adds up.  While watching TV in the evening I often read to learn more techniques or play with drafts on my computer.

Some things, like threading, are actually better done in shorter spans.  I make fewer mistakes and don't get sore from doing the same thing for too long.

Weaving really helps my mental attitude, when I don't weave I find I am not as happy.  So, it is important for me to weave every day, even if it is only a short time.