Wednesday, April 15, 2020

Purple, Orange, Yellow

I've been wanting to weave something from the Echo and Iris book for a while now and just haven't found what I want to weave.  Recently I took the online course offered by Marge Coe called The Corris Effect for 8 shafts.

I like Marge Coe's courses, they are very interesting and I have learned quite a lot about Fiberworks by just watching how she uses the software for things like Deflected Double Weave and The Corris Effect. Link to Marge Coe's Course

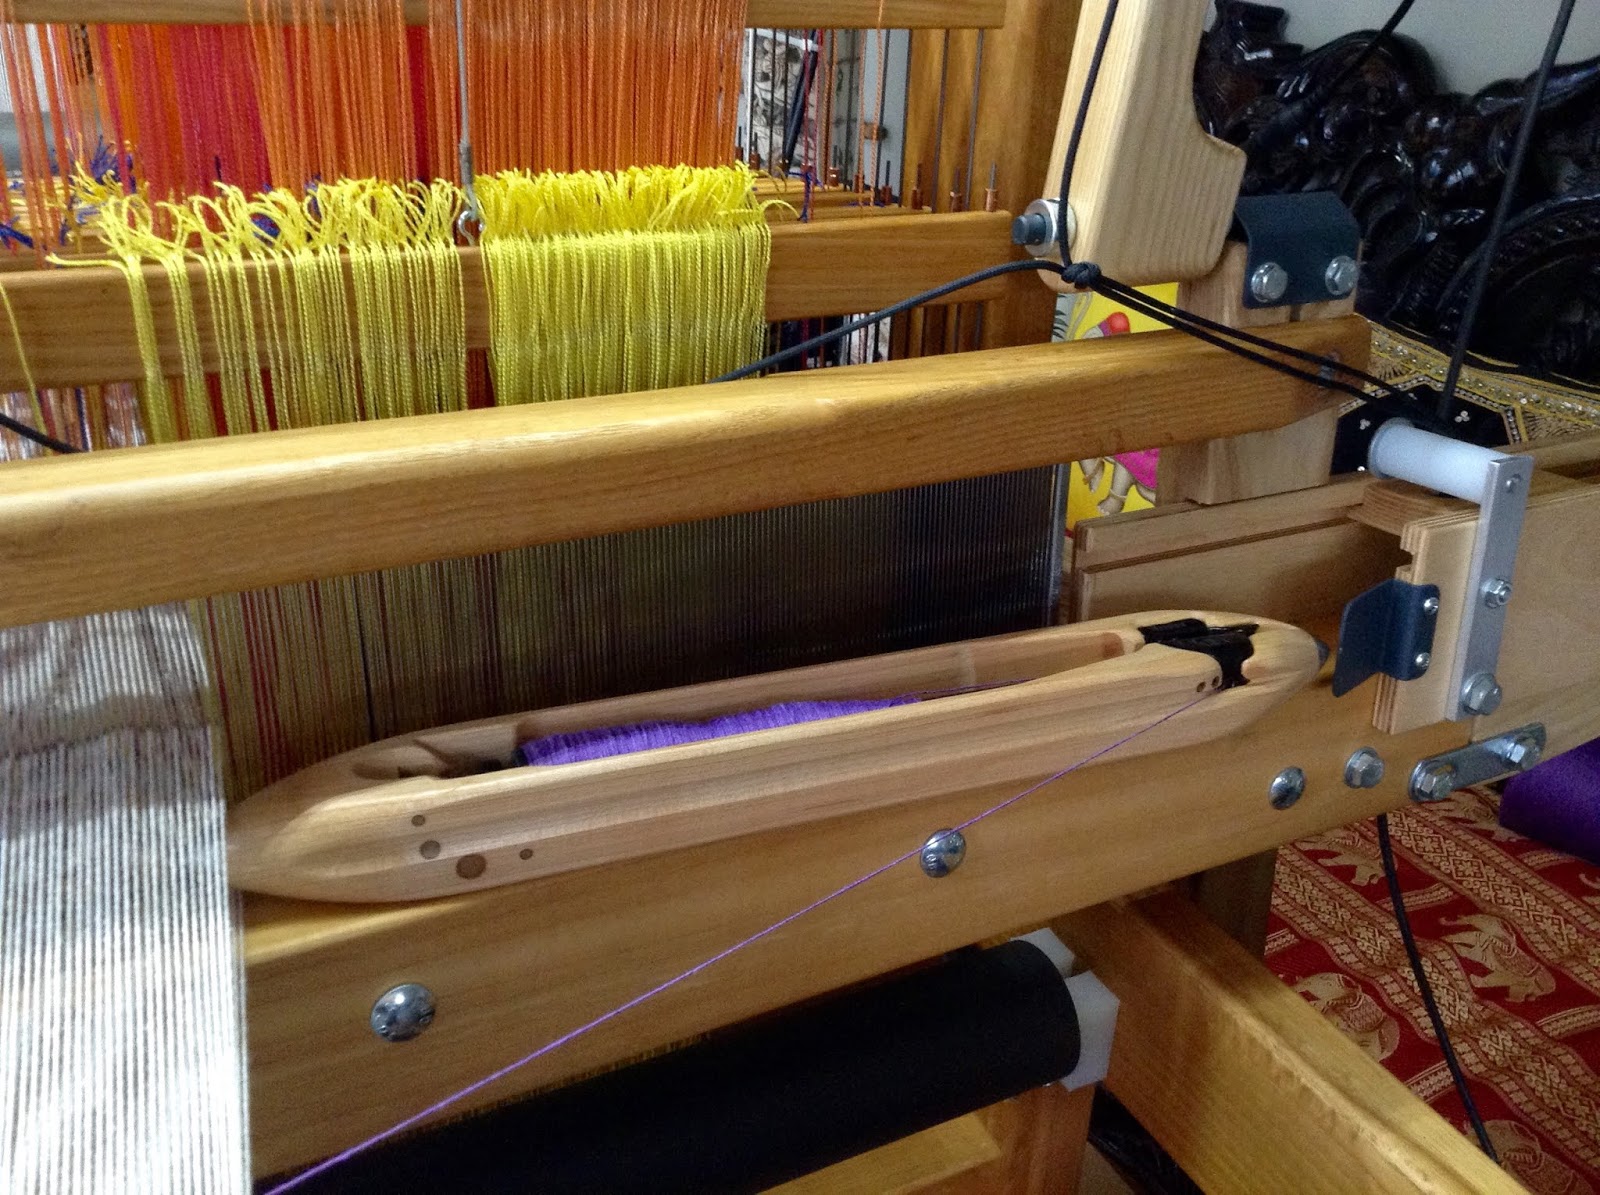
Corris Effect and Echo are very similar.  They both use multiple colors in the warp.  Corris uses 3 colors and Echo generally uses 4.  I am threading my loom with Purple, Orange and Yellow right now.

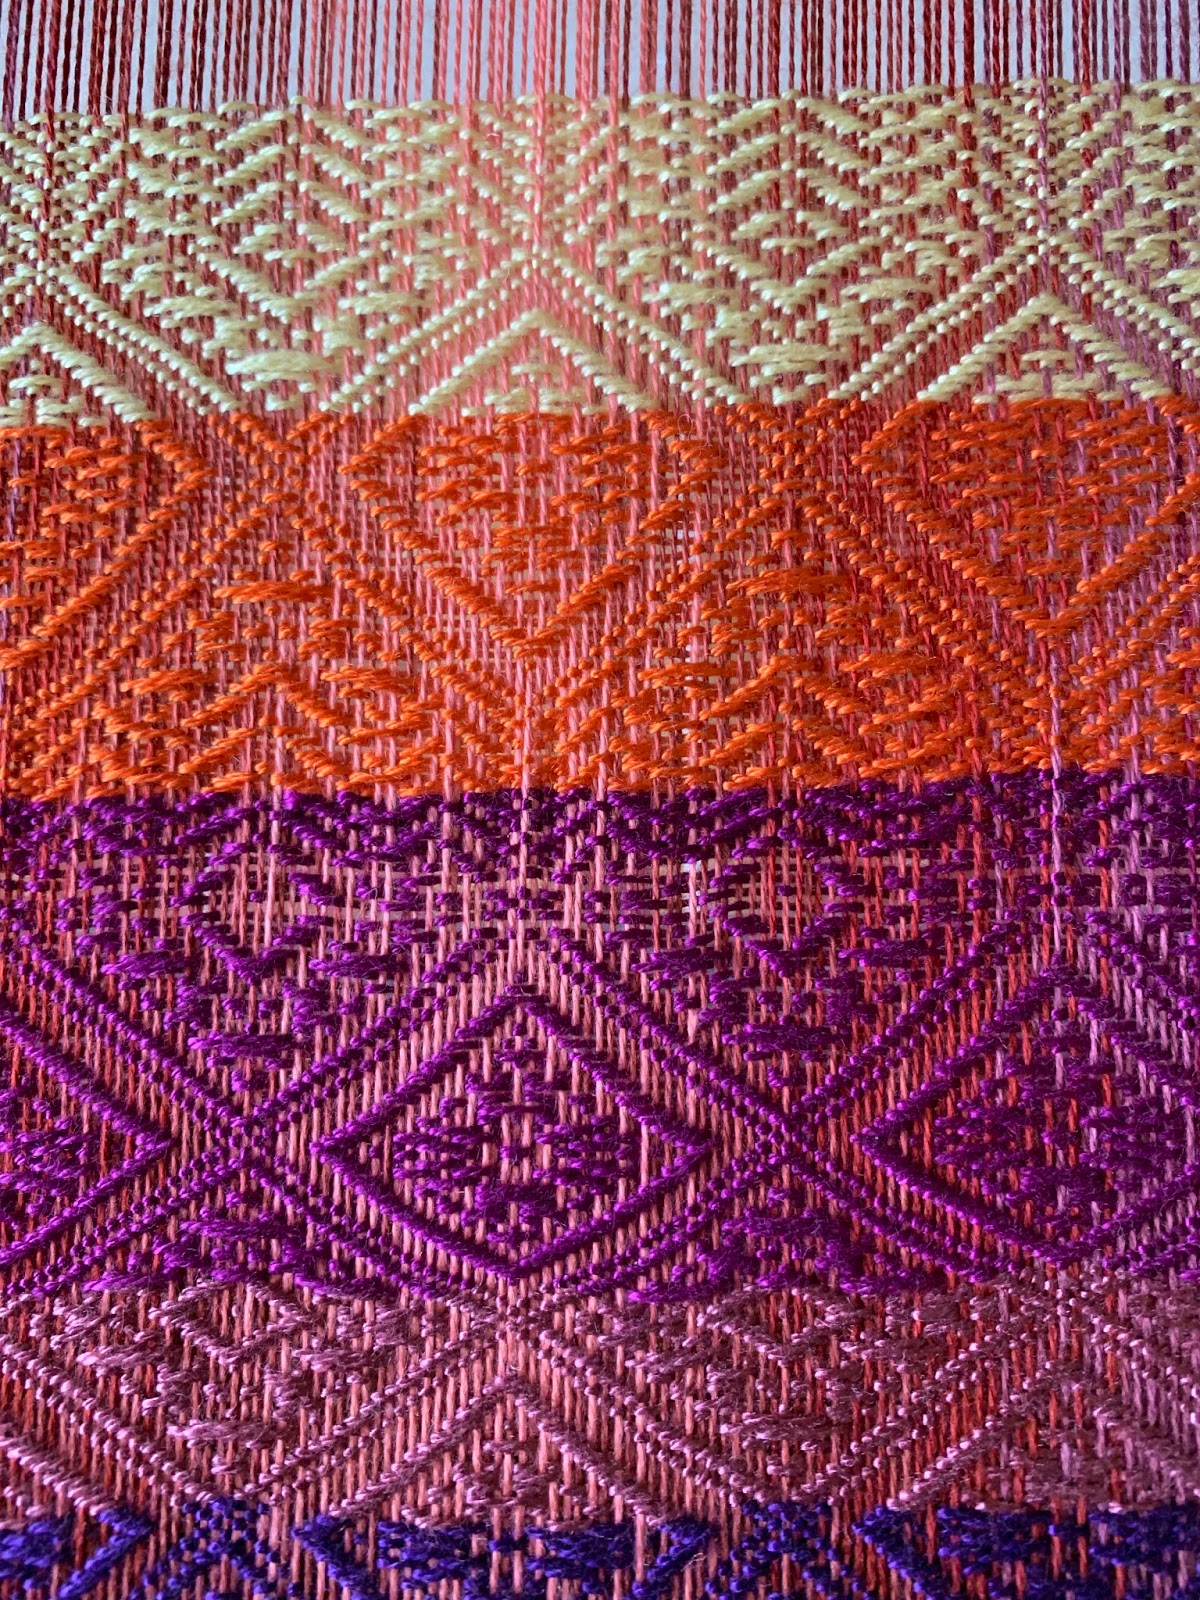
Using what I learned from Corris Effect, I chose a draft from Handweaving.net created by Bonnie Inouye.  #60949  It is a 16 shaft design that I wanted to use to weave a shawl.  The draft creates a large diamond shaped design which I thought would look great from the back when wearing the shawl.  It has been in my "to weave" list and I thought it would work for the Corris Effect.

After playing with the draft and colors I designed the draft seen below.

 This is a picture of both sides.  By using one color weft I am able to get what looks like a two shuttle weave with 2 weft colors.

I am weaving with 20/2 cotton Sett at 36 EPI.  Today I finished threading the heddles and will start the reed tomorrow.

This is the original design of the draft.


Monday, April 13, 2020

Deflected Double Weave


It is time to work on another double weave project for my study group.

I've been watching Madelyn Van Der Hoogt's video on Deflected DW  and also took the first DDW online course from Marg Coe at http://www.e-weaving.com.   I like Deflected DW because it creates bold graphic designs not seen in other weave structures.

It is easy to take another draft, use it as a profile draft and change it to DDW.  In the first course, Marg Coe shows step by step how to do this in Fiberworks.

Star of Bethlehem is the draft I chose to change into DDW.  This sample will be a shawl.  It is 22 inches wide on the loom.  For this I am using 10/2 Cotton in a pink color called Azalea and Wedgewood Blue,  both from WEBS.

Deflected Double Weave is a fabric that is woven as a single layer cloth.  There are sections of plain weave with floats that go over other plain weave.  If you removed one of the colors of the cloth you would still be left with a piece of cloth.

There are 4 ends of pink and 4 ends of blue alternating across the warp.  6 or 8 end segments can be used but, you need to consider how long the floats will be.  The thickness of the yarn, type of fiber and usage of the cloth would determine the proper length of the float.  For my first project I am using 4/4.

The sett for DDW is slightly more open than the suggested tabby for the yarn chosen.  I have chosen 30 EPI.  Since this is still double weave the sett is twice what you would use for a single weave.

This is a two shuttle weave; as you need to change colors every 4 picks.  I used a plain weave selvedge to eliminate the need for a floating selvedge or other edge techniques and will determine if I will carry the unused thread up the side or cut it each time I change colors.  I planned on carrying the color up the side of the cloth and have blue on one edge and pink on the other so the carry thread will not be noticeable.

Sunday, March 3, 2019

Denting and Cramming

As I mentioned before, I am participating in Jane Stafford's online guild. JST Guild  This is the 3rd year that she is making videos and projects to weave.  Even as an experienced weaver, I am learning a lot and getting inspired to try new things.

This year Jane is talking about various denting techniques, cramming or using a very high sett and denting or spreading the sett out.  By using these techniques she is creating some interesting fabrics.


While weaving, the fabric looks like it will not be usable due to the very open sett; however, by selective use of crammed denting, the fabric is held together.

Here is a picture of it off the loom with a black background.  You can see the shifting of the threads where it went over the beam.  These will adjust themselves in the finishing wash.


After wet finishing, the cloth changes quite a bit and becomes stable.  Because this is wool, I can control how much fulling happens when I wash it.


After I wove the first scarf I changed the weft to a thick silk and linen.  I wove 2" segments with the silk/linen and 2" segments with the thin wool.


For the third scarf I cut the first two off and changed the denting.  I re-sleyed using the skip denting technique.  Threading 12 ends then skipping 6 dents.


I used the same wool to weave the weft and the same spacing which leaves large holes in the fabric.


 The scarves are light weight, airy and beautiful.  I used a wool purchased from WEBS a few years ago.  It was a mill end and I don't remember the exact info on it.  All I know is that it is very thin.  I estimated a tabby sett to be about 30 EPI.

Sunday, February 17, 2019

Finished Double Weave: Iridescence


This was a fun weave.  I was able to weave 2 scarves and a short piece from this warp.  The weaving was easy.  The only problem I had was a few shafts that would raise when they were not suppose to.

I tried to tighten the springs on those shafts but, I still got some lifting.  I needed to push them down while weaving.  When I took the scarves off there were a few floats to repair on the back that was caused by the shafts lifting, before I noticed the problem.

The color mixing on this weave has a lot of iridescence.  Some of the blocks that I thought were creating ugly color mixes actually make some of the best iridescences.  Instead of mixing the colors to create another color, each of the colors remain separate depending on your view.  As an example:  the lemon yellow and red would mix to make a brownish color, but with the iridescences it shows either yellow or red as the fabric moves.

The Ming blue crossed with red-purple looks great and is my favorite.  Now I want to weave a large cloth with just the iridescent colors.


To learn more about iridescence in weaving, I read Bobbie Irwin's book.  This is the only book I have found to teach how to get iridescence into your weaving.  She describes what iridescence is and what colors will produce it.  Great book!
 Click on the blue link to go to Amazon to learn more about it.


 Weaving Iridescence: Color Play for the Handweaver


Saturday, January 19, 2019

Double Weave Window Panes


I am currently working on a Double Weave project.

I have done several DW projects in the past.  One was a piano keyboard and several Double Wide items.  Studying Double Weave is on my list this year and this is my first project.

Window panes is one of my favorite drafts.  I love how the colored window panes are surrounded by the black frames.  It is also a good draft to understand how the various layers in DW exchange places to create the design.

To make things more interesting, I created a gradient using two similar colors within the windows.  Doing this requires using 3 shuttles, one for the black, and one for each color.  Shuffling the shuttles gets a little difficult and slows the weaving down.  I am enjoying the pace of this weave although I would not want to do it all the time.

To change the design it is easy to weave the windows square or elongated and changing the colors is fun.

I am weaving 2 scarves with this warp on my AVL Loom.  The warp and weft are both Tencel and I chose a sett of 15 EPI on each layer, or 30EPI.  Using a 10 dent reed I threaded 3 ends per dent.  I will need to get the scarves off the loom and wet finish them to determine if the sett is open enough to create a nice drape in the scarves.  Since the fabric is doubled I want the sett to be open enough that it is not too thick and stiff.

To learn Double Weave I have Jennifer Moore's Video and Book.  A new and revised edition of her book has just become available.  Here is a link to it in Amazon:  Jennifer Moore Double Weave

I have not seen the new book but the original is a great source to learn DW.  If you put a warp on your loom and follow along you easily learn many ways to use DW.

Tuesday, January 15, 2019

Complex Weaver's Study Groups


Last year I joined Complex Weavers Guild.  Complex Weaver Link.  I joined this guild when I first started weaving and enjoyed the journal that they print and send several times a year.

My first impression was that it was beyond my weaving ability.  So I did not rejoin until 2018.  Actually my first impression was wrong, the problem was that I did not join any of the study groups and did not take advantage of the library.

Library:  Last year I read many books that I would never have had access to.  It is easy to get the books.  All I needed to do was look at their library on line and email the author and title of the books I wanted to their Librarian.  She quickly pulls the books, calculates the postage and emails the options.  Once you decide how to send the package she mails it to you.  The books are on loan for 1 month and if you need longer just email the librarian and as long as no one is waiting for the books another month extension is given.  Payment for the shipping is sent either by check when the books are returned or by PayPal.

The best thing is the sample books created by some of the study groups.  They are a collection of samples woven by the members, including the draft and notes.  Some of the weavings are spectacular.  There is nothing like seeing and feeling the fabrics.  It is a great way to see fibers used that you have never woven with.

Study Groups:  I started with one study group last year.  Designing Fabric, this group does not exchange woven samples.  It chooses a study theme for the year and each member submits an article once during the year.  We just upload the article to the internet and have the opportunity to discuss it with the other members.

For 2019 I joined 2 other groups, 24 More or Less and Double Weave.  I tried to get into the Sixteens group, but they were at their maximum enrollment.

24 More or Less is a group for weaving with at least 17 shafts or more.  All one needs to do is weave a draft using 17 shafts or more, any structure is allowed.  The samples are typically about 6"x6" to 8"x8" and you need to weave 31 samples. ( one for each member and one for the library).  These were due to be sent to the leader of the group by Feb. 15th.  That was easy to do.  Now I can start planning for next year.

Double Weave is, as the name states, a study of double weaving.  This group selects a type of double weave to study each year.  This year is Deflected Double Weave.  4 times a year project notes and a WIF file are due, two of these projects need to deal with Deflected DW and the other two can be projects from their lists.  Only one of the projects needs to be a Deflected DW woven project.

They have lists of projects, each with a different subject.  There are lots of previous projects to see and study and reference material to read.

This is a great way to force myself to concentrate on a type of weaving.  Although weaving each project is not required, I find it the best way to learn so I will be doing a lot of DW this year.

More Groups:  There are many more groups in Complex Weavers and it is tempting to join more but, I don't want to always have a deadline to meet.  The spacing of due dates for these 3 groups works for me and the Double Weave will keep me busy.

Complex Weavers is a great guild if you participate.  Every two years they have a conference with a fashion show, weaving competitions, and lots of seminars and learning opportunities.  Their next conference is 2020
in Knoxville, Tn.


Tuesday, January 1, 2019

Happy New Year 2019!


These are pictures of what's on my looms January 1, 2019.


I am threading the AVL with a double weave project.  You can see that I have taken the sandpaper breast beam and tension roller off the loom.  Also removed, is the reed and the top that holds the reed in the beater.  I then use a black stool to sit in the loom to reach the heddles easier.  Another thing that makes threading easier is using the computer and Dobby to lift the shafts as I thread.  My mistakes in threading have gotten so much better by doing this.


Warp:

The warp is Fuchsia/Mauve, Ming Blue/ Teal, Green, Yellow and White separated by Black.

About half done, I should be weaving in a few days.


On the Harrisville Design Loom:

My Rainbow scarfs are on the HD 8 shaft loom.  I am inspired to finish this warp because I need the 10 dent reed to use on the AVL.  I have one more scarf to weave off on this warp.

I am enjoying weaving the bright colors of this warp.  I have several drafts that I am using on this warp by just changing the treadling.  I'll get a picture of all of them when they are off the loom.

It's a good start to the new year.  I hemmed this scarf, threaded a few minutes and am now watching the Mummers Parade.

I hope you are enjoying your New Year day as well.

Friday, December 28, 2018

Another New Year

2018 is waning and 2019 is on the horizon.

I like to take the last few days of the year to clean and organize so I can get a fresh start in the new year.  It is also a time to look back at my accomplishments or failures and to reassess my goals for the new year.

2018 was, overall, a good year for me.  Although some negative things forced changes, the changes were for the better.  One example is,  our heating and air-conditioning system was getting old and was due to be replaced.  When we had our annual cleaning and inspection the service man found that there were a few issues and suggested we should replace them.  We knew it was only a matter of time and the time was now.  In addition to replacing the heat pump and AC units we decided to change from an electric supplemental to propane.  And, while we were putting in the propane, we might as well get the generator we had been discussing.

Another big change was purchasing a new wheelchair accessible van.  My husband uses a wheelchair and it has been getting more difficult to transfer into our car, so the van was needed.  It has been so much safer and easier with the van.

Now, on the weaving side, I got an AVL A-series 40" 24 shaft Compu Dobby loom.  This was something I never seriously thought about until earlier this year.  The cost was more than I would ever expect to spend on something for myself.  I was so happy when my husband said to get it.  I love my new loom.  I am learning more and more about weaving and that makes me happy.

With so many major items this year I am hoping 2019 won't require much in the way of maintenance.

As far as my goals for 2019,  I am hoping to exercise more, drink more water, spend more time weaving and working outside in my yard and gardens.  I would like to spend more time enjoying the present and not worry about the future.

I think my goals are attainable so I should have a fantastic New Year.


Friday, December 14, 2018

Weaving a Rainbow


If you can't decide on a color, use them all!

I enjoy bright colors and this warp makes me happy.  I warped my HD loom with 8 yards of 8/2 Tencel to weave several scarves.  The threading is an 8 shaft straight draw so I can use several twill drafts to make each scarf slightly different.

Are you familiar with Tencel?

Tencel is one of my favorite threads with which to weave.  It has a beautiful sheen, comes in many colors, and makes a soft, silky fabric with a beautiful drape.

Tencel is also known as Lyocell.  It is made from the pulp of wood which is chemically treated to create a slurry which is pumped through spineretts to make a continuous filament.  Tencel can be used by itself or mixed with other fibers.

Lyocell is used in many fabrics we use daily.  It is wrinkle resistant, soft, absorbent and makes a strong fabric that will stand up to machine washing and drying as well as dry-cleaning.

I have only woven with silk a few times.  The silk I used was close to the size of 8/2 Tencel.  For me, the silk and Tencel are almost identical.  The cost of Tencel is so much lower than silk that I think it is a great substitute for silk.

There are a few things to keep in mind when weaving with Tencel.  It is slippery, so when you tie on to the apron rod make sure your knots are tight.  Also,  the selvedge threads have a tendency to wear and break.

To reduce the breakage there are several things to do.  First, watch your draw-in.  If possible, use a temple, an end-feed shuttle and beat on an open shed then close the shed before pushing back on the beater.  When you beat on an open shed the weft will ease into the warp better and not pull on the edges.  Then, close the shed before moving the beater back.  This will hold your last pick where it belongs while you change the shed.  Since Tencel is slippery, it has a tendency to bounce back away from the fell if you don't trap it with the next shed.

When you take your fabric off the loom you will find it seems hard and has no drape.  Don't despair. Once you wash it the fabric changes.  The next step is to press it with a hot iron.  I mean PRESS it.  Hold the iron in one place and press down, move the iron to the next place and press down.  Do this on both sides of the fabric then Iron the entire piece by moving the iron back and forth.  The ironing sort of polishes the fabric.  You only need to do this pressing to finish the weaving process.  For future cleaning a light ironing is all that may be needed.


Tuesday, December 11, 2018

24 Shaft Design


What I love about my AVL Loom is the intricate designs that can be woven with 24 shafts.  By using 24 shafts it enlarges the scale of the pattern woven,  Technically, if the pattern is sett at 24 ends per inch and it is repeated as a point twill, the pattern should be 2 inches.  Because of draw-in the design is slightly smaller than 2".

The challenge with an obviously square design is beating it so it is square.  I am using 8/2 Tencel sett at 24 EPI.  My natural beat is closer to 27-30 Picks Per Inch which would make the design shorter than wide.  It takes some concentration to get the beat light enough to be 24 EPI.

I could sett the Tencel closer which would make beating it square easier, but that would create a stiffer fabric.  Since I want this to be a scarf and have a nice drape I chose 24 EPI.

This draft is #29521 from Handweaving.net. This is a website with a collection of drafts and documents written about weaving.  You may browse the site for free.  When you purchase an annual subscription for $20. you can download WIF files of the drafts.  There are drafts from 2 shafts up to at least 36 shafts.

Handweaving.net is a fantastic source of drafts as well as documents which include entire books like Peter Collingwood, The Techniques of Rug Weaving and many short articles on multiple subjects.


Friday, December 7, 2018

Warp Gradation: Using Fiberworks to create a gradient.


Gradation of colors in the warp can create a very interesting background for a pattern.

When using Fiberworks software select "Colors" from the band at the top of the screen then choose "Create Gradient".  A box will appear giving you several selections.


  •  Choose the color you want to start with from the color bar then pick the color to end with.
  •  Select how many colors you want to blend.  The more colors you choose, the more gradual  the gradient will be.
  • Number of threads.  If you want the color to change across the entire warp choose the total number of warp threads.  If you want to mirror the color, like the photo above, divide the total number of ends in half and insert that number.  Example:  200 total warp ends would be 100 for half the warp.
  • Click on "Add to end", this will place the color on the draft.  If you selected half of the total warp the color will only fill in half of the draft.
  • To finish the mirror effect click add to end again.  This puts the color on the other half of the warp but it needs to be reversed to give you the mirror.
  • Click "Reverse" and you should have the mirror effect across the entire warp.
The computer will give you an endless number of colors, however, you need to check how many colors of thread you have to create the gradient.  You may need to decrease the number of colors in the program to make it practical for the colors you have on hand.

Just follow the threading sequence to get a nice gradation.  This does take time when warping but it gives a beautiful warp at the end.

Something to consider when creating a gradient is the draft you will be using.  When you take a lot of  time to create a beautiful warp the draft should highlight the warp.  You could choose a warp dominant draft or a draft with a simple design.


The draft I chose for this gradient is too dominant and hides the gradient.  I tried several colors of weft and eventually picked yellow because I wanted to highlight the design.  I now wish that I had not done the gradient for this draft; as it does not show in the finished cloth.  In the future I need to decide in advance which aspect is more important and will choose a draft that is more appropriate. 

I also think that the scale of this project is too small for the gradient.  This is about 9 inches wide for a scarf.  I think something wider would be better for the gradient.

The scarf is still beautiful but is not exactly what I envisioned for this warp.

Tuesday, December 4, 2018

Single Fly Shuttle... Stopping it from flying off.

This is my first experience with a fly shuttle.

I have a single box fly shuttle.  This means that it uses only one shuttle.  There are double and Quad fly boxes available so you can weave with multiple shuttles.  I decided a single would be used the most.

My loom is 40" wide.  I am 5ft 1inch tall and have short arms.  When weaving full width on my HD 36"loom I could not throw the shuttle across easily, so I decided to get a fly shuttle for the 40" loom.  Besides, I wanted to play with one.

It is important that you have the shuttle box even with the shuttle race on the beater so that the shuttle runs smoothly from the race into the box and vice versa.  I am familiar with using an end feed shuttle and love them.  When I switched from a boat shuttle to an end feed shuttle my broken selvedge threads stopped and the selvedge was nice and smooth.  The shuttle for the fly has metal on the tips and is a little heavier than my other EF shuttles.

I was hesitant to use the fly shuttle.  All I could imagine was the shuttle sailing off the loom and through the picture window near the loom.  The first few pulls were too light to get the shuttle from one box to the other.  With a little practice I was doing it well.

With the warp on the loom and thread in the shuttle I started again.  Klunk, the shuttle fell off the right side of the loom and hit the floor.  I got a small rug and put it under the loom to protect the hardwood floor and tried again.  It fell a few more times, I could not figure out what I was doing wrong.

I asked on Warped Weavers on Ravelry.com and Bonnie Inyone suggested turning the shuttle around so that the Honex feeder was toward the reed.  Like magic, it worked.

As I look at it now I understand why.  As you throw the shuttle from the left to the right the thread catches the left selvedge.  This starts to pull the right tip of the shuttle, where the Honex feed was, away from the reed.  When it gets to the metal guide near the right box it hits the outside edge and causes it to fall outside the box to the floor.

When you turn the feed toward the reed it does not pull the tip of the shuttle out and it sails into the box with ease.

One more tip.  Get a good paste wax and wax the shuttle race, fly box and the shuttle.  It reduces the drag and makes using the shuttle easier.  This is something that should be done as routine maintenance.

Using the fly shuttle gives me a very nice selvedge and is quicker than throwing the shuttle.  The only disadvantage is that it does not allow for the use of a floating selvedge.  When using a twill draft I will need to thread a basket weave or plain weave on a couple shafts to get a selvedge without floats along the edge.


Monday, November 26, 2018

Candy Cane Christmas Design


This design caught my attention while reading Ravelry.com Warped Weavers.  It is the perfect design to weave for Christmas.  There are versions for 4 shaft and 8 shaft drafts, but I enlarged the design for   16 shafts because I wanted to weave a table runner and placemats.

The basic draft is an undulating twill where the color placement creates the candy cane effect.  If you play around with the color placement you can create many designs from this draft.  It is easy to weave since you only use one color in the weft and it is a simple treading.

I warped the loom with 8/2 Cotton and added red Lurex to the red cotton stripe.  It gives it a nice shine, but the Lurex does not shrink.  This created some bumps in the finished fabric which I do not like and would not do it again.

I used several different yarns for the weft.  First I used Linen for a table runner.  The second runner I used 8/2 Cotton and the placemats I used 3/2 Cotton.  I liked the 8/2 cotton results the best.

This is a draft that I will definitely weave again.  I think I will use the 8 shaft draft to create dish towels.  There is a front and back to this design.  The green stripe on the front has a nicer look on the front of the draft than on the back.